Mini-Tutorial: Flat Chains
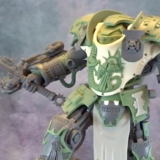
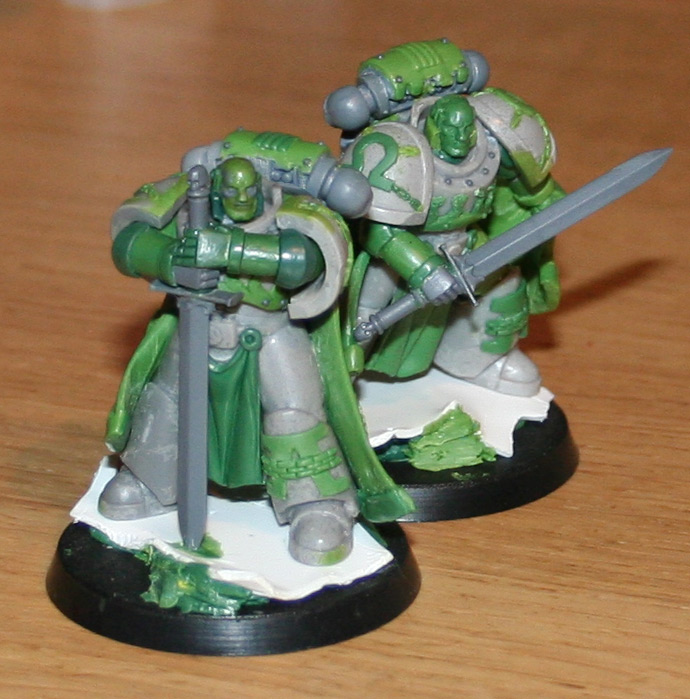
On the recent Alpharius and Omegon project I sculpted some very tiny chains around the icons on the shoulder pads. The client has asked for a tutorial on how these were done, so here goes.
This tutorial is for chains details that might appear in a decorative fashion (go Alpha Legion!) not actual chains.


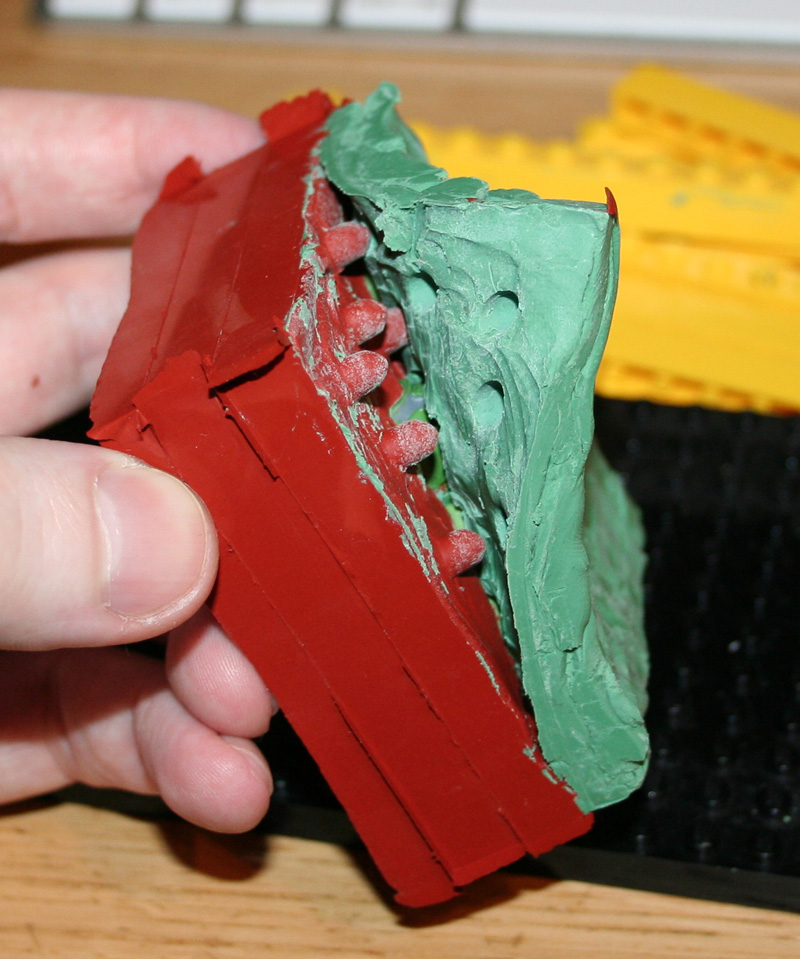
Start with a piece of Green Stuff rolled out into a thin sausage (note in this example I’m making the chain fairly large to make it easier to see, but the same principle applies when making them tiny). Press this sausage onto a piece of plasticard or the model you are decorating, in a neat a fashion as possible.
Next use a scalpel to trim away the edges of the Green Stuff so that it is uniform and tidy. I use this approach for all kinds of things from shoulder pad trims to iconography. Then cut away gaps at regular intervals to leave a series of tiny Green Stuff rectangles.
The next stage I did by using the scalpel blade to score down the centre of each little rectangle and push the Green Stuff to form a gap in the middle of each. Allow the Green Stuff to cure before proceeding to the final stage.
Finally the links to fill in the gaps are added. Roll another thin sausage of Green Stuff (thinner than before) and cut it into little pieces slightly longer than the gaps. These are then positioned careful to complete the chain. I used a flat edged clayshaper to clean up some of the edges but a scalpel or metal tool will work fine too.
Nothing fancy, just a simple series of steps.